Technical sheet - Roman and Italian Letters
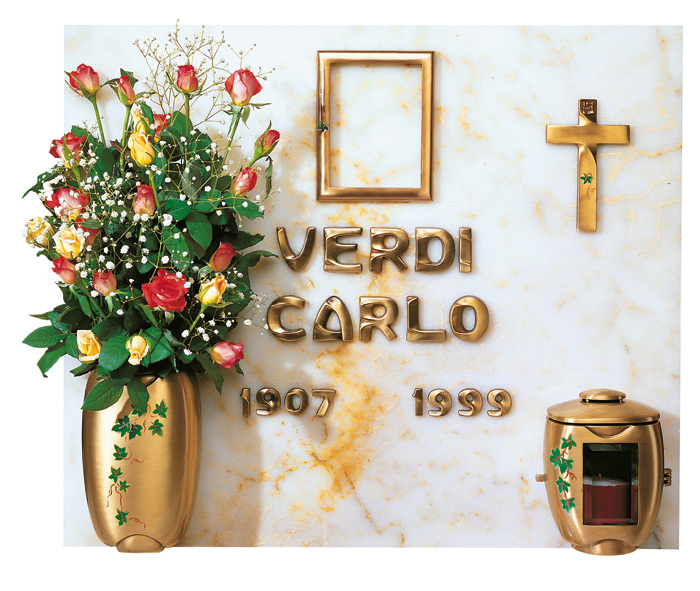
Real Votiva produces a wide range of letters and numbers in bronze, steel and porcelain; such characters are suitable for gravestones and can be used for the composition of names and dates of birth and death for epigraphs, dedications and epitaphs on tombstones. The characters are produced in various sizes that in general ranging from a height of 2.5 cm to 8 cm. The main formats are Roman, Italian and Italic.
Some kind of characters are also available in different marble colour versions, such as Carrara, Botticino, Black Marquinia, Guatemala Green, black and white or in ceramismalt, or colour variants like mercury, gold and glitter. The letters are treated with a special coating that ensures resistance to weather and time, especially for the graves planted outdoors.
The application of each letter to the marble surface is done by means of two pins placed in the back; after practicing small holes on the points of application, the letters are attached with mastic for marble.
Important. This technical sheet refers to the "Roman" and "Italian" style bronze letters, for all colours and finishes available in the catalogue.
Hereby are the instructions for the purchase and installation of the letters.
1. How to purchase the letters
To buy the desired letters proceed as follows:
- Access the website main page or the catalogue page.
- Select the category “Types” from the main page or the general catalogue page.
- Select the sub-category "Bronze".
- Select the desired model, such as “Characters for gravestones. Lucid Roman”.
- In the detail page of the selected model, there are multiple item variants, for example, "Letters, numbers, star, cross - cm 2.5", "Letters, numbers, star, cross - cm 3" etc.
- According to the text to compose, select each letter to be ordered from the list next to the entry "Select character" and specify the number of pieces in the text box beside the button "Add to Cart", then click that button. Repeat this step for all the letters and numbers to be ordered (in case of mistakes you can make changes in the order summary page displayed during confirmation order that is in the Cart).
2. How to request the drilling guides
On demand Real Votiva Store can generate, through a special software, customized drilling guides for the application of the characters in bronze.
All characters in bronze style "Roman" and "Italian" are fixed through a pair of pins on the rear of the letters (see figure).

Italiano Bronzo Lucido Style

Romano Bronzo Lucido Style

Romano Bronzo Patinato Style
For fixing the letters it's necessary to carry out two small holes, for each letter to be fixed, in correspondence of the pins. It is fixed with mastic for marble or other type of adhesive depending on the application surface.
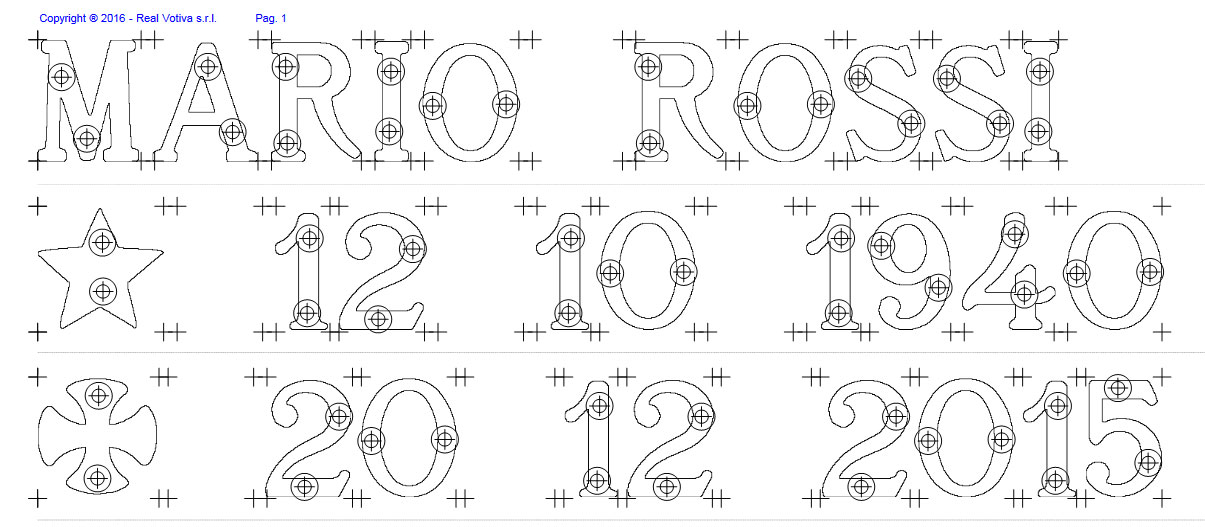
To facilitate the drilling operation Real Votiva has created a special software that, according to the text to compose, generates the drilling guides to show you exactly where to drill the holes.

Using the guides, the drilling process becomes a simple and fast operation. The guides are also useful if for the application for the letters we turn to a specialist.
To request the guides, after having placed the order, you can send an e-mail at servizioclienti@realvotivastore.com indicating the text to compose (name, dates, dedications etc.). The service is completely free.
3. How to print the drilling guides
The drilling guides for characters are transmitted in PDF format.
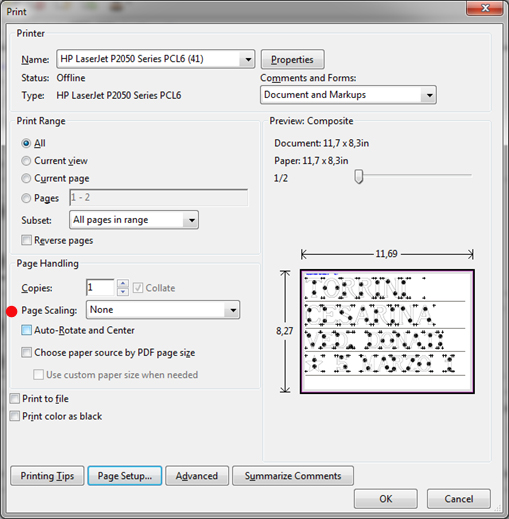
Printing the guides make sure that in the printing options of the PDF document, in the section "Page handling", is selected "Page scaling=None" (see figure) in order to ensure printing the page in real size.

4. How to use of drilling guides
Before to use the guides on the destination surface, it is recommended to execute a preliminary test on plywood or compact polystyrene or similar material. Although the program is tested and used for years, in the printing process there could be the risk that the guides are not printed in real size (e.g. due to incorrect settings of the printer). The preliminary test includes the same steps for the final application (except for the application of the mastic).
The process includes the following steps:
1. Crop the text strips. Between a line of text and the other is printed a dashed line to facilitate cutting of the sheet into strips to be fixed on the working surface.

2. Placement on the surface using adhesive tape. Place each strip on the surface of application and secure it using adhesive tape on the edges, being careful not to cover the shape of the letters and the drilling points. In the generation of the guides it is possible that of some names or phrases can be broken over several lines: in such a case, it is necessary to hook the last two cross shape marker of the first line with the first two marker of the second line (see figure).

3. Drilling of the surface. Drill holes at the points indicated on the guide using a drill bit with a diameter slightly greater than the diameter of the pins to permit the application of the mastic inside the holes and, if necessary, a little position adjustment. On the guide, the hole it is indicated by two concentric circles, but the hole diameter is that of the innermost circle. At the end, remove the strips from the surface and blow all the holes in order to remove the dust accumulated inside..

4. Preparation of the mastic. To facilitate the application of mastic inside the holes, it is recommend using a liquid but viscous mastic. Using clean tools, take out from the tin the amount of mastic to use and add the right amount of catalyst paste (according to the quantities indicated on the package, e.g. from 1 to 3 grams of hardener per 100 grams of product); mix the two components by means of a spatula. Note that the curing time will shorten with temperatures above 25° C and will be longer with lower temperatures. However, to avoid the risk that the mastic hardens in the holes before applying the letters, is advisable to work for groups of letters (for example, before the name, then the last name and so on) preparing every time a small amount of mastic.

5. Application and fixing of the letters. Introduce a sufficient amount of mastic inside each hole and then put the related letters (you may want to keep the letters on hand next to the holes in the sequence of application to avoid loss of time). Spillage of mastic can be removed before the complete hardening, as soon as it becomes solid but soft and chewy, with a thin knife or a spatula.


 4,8
4,8